- >

How to Install Travertine Paver
- By: Nicholas Indellicati
- Date: Jun 18 2023
Similar Articles

Artificial Turf vs Sod for Lawns, Backyards & DIY Makeovers
Thinking about artificial turf or sod? Discover the pros and cons of each—from cost and maintenance to durability and pet-friendliness—so you can choose the best option for your lawn or backyard project.
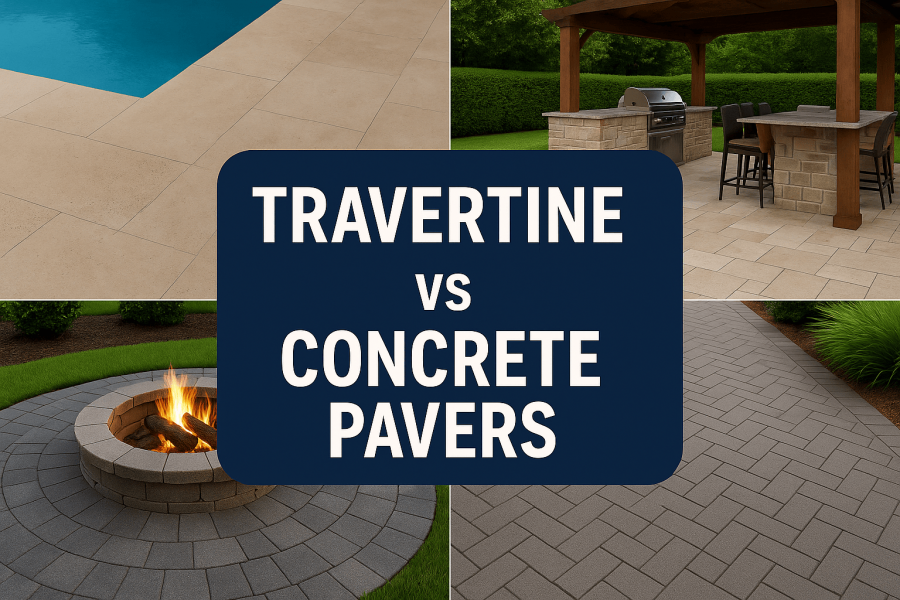
Travertine vs Concrete Pavers for Florida Pool Decks, Patios, Fire Pits & More | bhild
Compare travertine and concrete pavers for Florida pool decks, patios, and driveways — from heat retention and slip resistance to cost, maintenance, and curb appeal.
Beat the Heat: Florida Summer Landscape Survival Guide
Beat the Florida heat with smart summer landscaping. From drought‑tolerant plants to shaded retreats, this guide covers designs, materials, and maintenance tips to keep your yard thriving all season long.


How to Install Travertine Pavers: A Comprehensive Guide for Landscaping Enthusiasts
Travertine Paver Introduction:
If you’re considering enhancing your outdoor space with a touch of elegance, travertine pavers are an excellent choice. Known for their timeless beauty and durability, these natural stone pavers can transform your patio, pool deck, or walkway into a stunning landscape feature. In this comprehensive guide, we will walk you through the step-by-step process of installing travertine pavers, ensuring that your project achieves professional results. Whether you’re a seasoned landscaper or a DIY enthusiast, follow these guidelines for a successful installation that will make your outdoor space shine.
When it comes to landscaping projects, the installation of travertine pavers plays a significant role in achieving a visually appealing and long-lasting outcome. Whether you’re revamping your backyard or creating a brand-new patio, understanding how to install pavers, particularly travertine pavers, is crucial for success. In this article, we will provide you with a detailed step-by-step process that covers everything from preparation to finishing touches. By following these guidelines, you can confidently undertake your landscaping project and create a beautiful outdoor space that stands the test of time.
Preparing the Ground for Travertine Pavers
Step 1: Planning and Preparation
Proper planning and preparation are essential before embarking on any landscaping project. Start by carefully measuring the area where you want to install the travertine pavers. Take note of any slopes or drainage considerations. Clear the area of any existing structures, vegetation, or debris. This initial step sets the foundation for a successful installation.

Creating a Stable Base for Travertine Pavers
Step 2: Excavation and Base Preparation.
Excavate the marked area to the desired depth, accounting for the thickness of the pavers, the base, and the sand layer. Once the excavation is complete, it’s time to create a solid base. Add a layer of crushed stone or gravel to the excavated area, ensuring it is evenly distributed. Use a tamper or plate compactor to compact the base thoroughly, creating a stable foundation for your pavers.

Ensuring Stability with Bedding Sand and Edge Restraints
Step 3: Bedding Sand and Edge Restraints
Spread a layer of bedding sand over the compacted base. Level the sand using a screed board or a straight edge to ensure uniformity. This sand layer acts as a cushion and allows for easy adjustments during the installation process. Additionally, consider installing edge restraints along the perimeter of the project area. These restraints provide stability and prevent the pavers from shifting over time.
Achieving Precision: Laying Travertine Pavers
Step 4: Laying the Travertine Pavers
With the base and sand prepared, it’s time to start laying the travertine pavers. Begin from one corner or edge, following your predetermined design or pattern. Leave consistent spacing between each paver using plastic spacers or another preferred method. Ensure the pavers are level by using a level tool and gently tapping them with a rubber mallet. Continuously check for alignment and make adjustments as needed.
Tailoring the Design: Cutting and Adjusting Pavers
Step 5: Cutting and Adjusting
During the installation process, you may encounter areas where pavers need to be cut to fit properly. Use a wet saw or a masonry saw to make precise cuts according to your measurements. Safety should be a priority when operating these tools. Double-check the alignment and levelness of the cut pavers to maintain a seamless appearance.
Strengthening the Foundation: Jointing and Finishing
Step 6: Jointing and Finishing
Once all the travertine pavers are in place, it’s time to fill the joints. Spread jointing sand or polymeric sand over the surface, sweeping it into the gaps between the pavers. Use a broom or a brush to ensure the sand fills each joint completely. Compact the pavers gently with a tamper or plate compactor, locking them securely in place. Remove any excess sand and clean the surface thoroughly.
Sealant and Maintenance: Preserving the Beauty of Travertine
Step 7: Optional: Sealing and Maintenance
While not necessary, applying a sealant to your travertine pavers can provide added protection and enhance their appearance. Consult the manufacturer’s instructions for the appropriate sealant for your specific travertine pavers. Before sealing, ensure the pavers are clean and dry. Apply the sealant evenly and allow it to cure according to the recommended time. Regular maintenance, including periodic cleaning and resealing, will help preserve the beauty and longevity of your travertine pavers.
Conclusion:
Installing travertine pavers is a rewarding landscaping project that can elevate the aesthetics of your outdoor space. By following this comprehensive step-by-step guide, you can confidently undertake the installation process. From meticulous planning to meticulous finishing, each stage plays a crucial role in achieving a successful outcome. Whether you’re revitalizing your patio or creating a new pathway, installing travertine pavers will bring elegance and durability to your landscape. Embrace the beauty of these natural stone pavers and enjoy your transformed outdoor haven for years to come.
Similar Articles
-
Artificial Turf vs Sod for Lawns, Backyards & DIY Makeovers
Thinking about artificial turf or sod? Discover the pros and cons of each—from cost and maintenance to durability and pet-friendliness—so you can choose the best option for your lawn or backyard project.
-
Travertine vs Concrete Pavers for Florida Pool Decks, Patios, Fire Pits & More | bhild
Compare travertine and concrete pavers for Florida pool decks, patios, and driveways — from heat retention and slip resistance to cost, maintenance, and curb appeal.
-
Beat the Heat: Florida Summer Landscape Survival Guide
Beat the Florida heat with smart summer landscaping. From drought‑tolerant plants to shaded retreats, this guide covers designs, materials, and maintenance tips to keep your yard thriving all season long.